Hard cider is an alcoholic beverage made from fermented apple juice. Unlike regular apple juice, hard cider contains alcohol due to the natural fermentation process. The alcohol content typically ranges between 4% to 8% ABV (alcohol by volume). Making hard cider at home is a rewarding process that allows you to control the ingredients and customize the flavor.
The fermentation process converts the natural sugars in apple juice into alcohol using yeast. This biological process has been used for centuries to produce various alcoholic beverages. When making hard cider, you’re essentially creating a simple wine from apples rather than grapes.
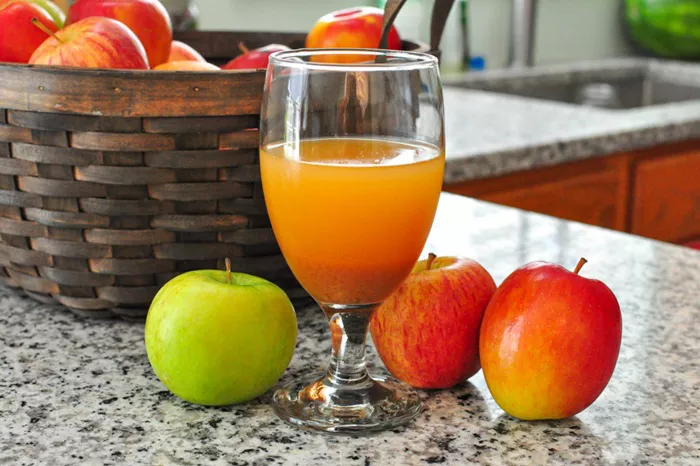
Selecting the Right Apple Juice
Choosing quality apple juice is the foundation of good hard cider. Not all apple juices are equal for cider making. Here’s what to look for:
No preservatives: Avoid juices containing potassium sorbate or sodium benzoate as they inhibit yeast growth
100% pure juice: Don’t use juice cocktails or blends with added sugars
Unpasteurized preferred: Fresh-pressed juice often yields better flavor
Apple variety: A mix of sweet and tart apples creates balanced flavor
Many cider makers prefer using a blend of different apple varieties. Sweet apples provide fermentable sugars, while tart apples contribute acidity and complexity. If possible, visit a local orchard for fresh-pressed juice during apple season.
Essential Equipment for Cider Making
Before starting, gather these basic supplies:
Fermentation vessel: A 1-gallon glass jug works for small batches
Airlock and stopper: Allows CO2 to escape while preventing contamination
Sanitizer: Proper sanitation prevents unwanted bacteria
Siphon tubing: For transferring cider between containers
Hydrometer: Measures sugar content and potential alcohol
Bottles: For storing finished cider
All equipment must be thoroughly cleaned and sanitized before use. Contamination can ruin your batch, so sanitation is crucial at every step.
The Fermentation Process Explained
Fermentation is where the magic happens – yeast converts sugar to alcohol. Follow these steps:
Preparing the Juice
Start with room temperature apple juice. If using store-bought juice, ensure it’s preservative-free. Pour the juice into your sanitized fermentation vessel, leaving some headspace (about 20% empty) to allow for foaming during active fermentation.
Adding Yeast
Sprinkle cider yeast or wine yeast directly onto the juice surface. You don’t need to stir it in. Different yeast strains produce varying flavor profiles:
Champagne yeast: Creates dry, crisp cider
Ale yeast: Produces slightly fruity notes
Cider-specific yeast: Balanced for apple characteristics
The yeast will begin multiplying and consuming sugars within 12-24 hours. You’ll see bubbles forming as fermentation starts.
Primary Fermentation
Attach the airlock to your fermentation vessel. Store it in a dark place with stable temperature (60-75°F or 15-24°C is ideal). Fermentation typically takes:
Active phase: 3-7 days (visible bubbling)
Secondary phase: 2-4 weeks (slower fermentation)
Avoid opening the container unnecessarily during this phase to prevent contamination.
Monitoring Fermentation Progress
Watch these signs to track your cider’s development:
Bubbling activity: Indicates active fermentation
Sediment formation: Yeast collects at the bottom
Clearing appearance: Cider becomes less cloudy
A hydrometer helps measure specific gravity (SG). Starting SG is usually 1.045-1.065. When fermentation completes, SG stabilizes around 0.995-1.010. Consistent SG readings over several days indicate fermentation is done.
Secondary Fermentation and Aging
After primary fermentation, consider these optional steps to improve quality:
Racking (Transferring)
Carefully siphon the cider into a clean vessel, leaving sediment behind. This clarifies the cider and prevents off-flavors from dead yeast.
Aging
Let the cider age for several weeks to months. Aging allows flavors to mellow and develop complexity. Store in a cool, dark place during this phase.
Backsweetening (Optional)
If you prefer sweeter cider, you can add unfermentable sweeteners like erythritol or stabilize the cider and add sugar. Never bottle sweetened cider without proper stabilization – residual sugar can cause dangerous bottle explosions.
Bottling Your Hard Cider
When fermentation is complete and you’re satisfied with the flavor, it’s time to bottle:
- Sanitize all bottling equipment
- Add priming sugar (if making sparkling cider)
- Fill bottles leaving appropriate headspace
- Seal with caps or corks
For still cider, you can bottle directly. For sparkling cider, add a small amount of sugar to create natural carbonation. Store bottled cider upright in a cool place for at least 2 weeks before drinking.
Troubleshooting Common Issues
Even experienced cider makers encounter problems sometimes. Here are solutions to common issues:
No fermentation: Check yeast viability, juice temperature, and preservatives
Stuck fermentation: Try rousing the yeast or adjusting temperature
Off flavors: Often caused by contamination or fermentation temperature swings
Cloudy cider: Time usually clears it, or use fining agents
Excessive sulfur smell: Usually dissipates with aging
Most minor issues improve with time. Patience is key in cider making.
Flavor Variations and Experimentation
Once you master basic hard cider, try these variations:
Spiced cider: Add cinnamon, cloves, or nutmeg during fermentation
Hopped cider: Dry-hop with beer hops for aromatic notes
Fruit-infused: Blend with other fruit juices like pear or cherry
Barrel-aged: Age in oak barrels for complex flavors
Keep notes of your recipes and adjustments. This helps replicate successful batches and learn from experiments.
Health Considerations and Safety
While homemade cider can be enjoyable, remember:
Alcohol content varies: Drink responsibly
Pasteurization recommended: For those with compromised immunity
Watch for contamination: Discard if mold or unpleasant odors develop
Legal regulations: Check local laws about home alcohol production
Proper sanitation and careful process control ensure safe, quality results. Never consume cider that shows signs of spoilage.
Conclusion
Making hard cider from apple juice is an accessible and rewarding hobby that connects you with centuries-old traditions. By selecting quality juice, maintaining proper fermentation conditions, and exercising patience, you can produce delicious homemade cider. Remember that each batch is unique, and experimentation is part of the fun. Start with small batches to learn the process, then expand as you gain confidence. With practice, you’ll develop your own signature cider style to share with friends and family. The satisfaction of enjoying your own crafted beverage makes the effort worthwhile.
Related Topics:
How Does Organic Apple Cider Vinegar Help with Weight Loss?
How Much Apple Cider Vinegar for Leg Cramps: A Detailed Guide


