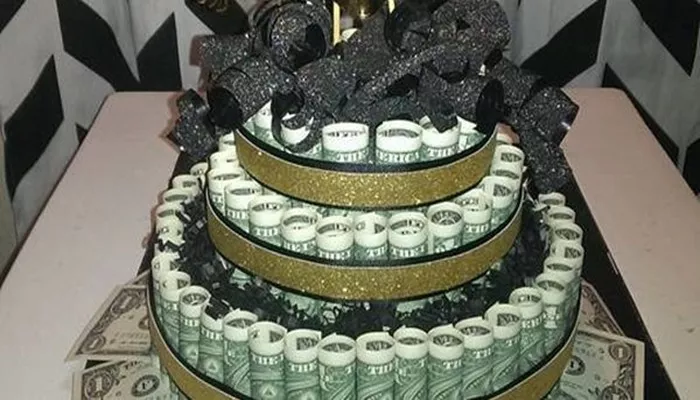
Money cake is a fun and creative dessert that hides rolled-up bills inside the cake. Guests pull out cash surprises as they cut into the cake. It’s often made for birthdays, graduations, weddings, and special celebrations. You can use real money or paper notes with sweet messages.
Why Make a Money Cake?
Money cakes are exciting and add a wow factor to any event. They’re not just delicious—they’re also interactive gifts. Children love them. Adults are amazed. It’s a unique way to give money as a gift. Plus, it shows effort and creativity.
Tools and Ingredients You’ll Need
Before you begin, gather everything you need:
Tools:
- 8-inch or 9-inch cake pans
- Electric mixer or whisk
- Spatula and spoon
- Sharp knife or cake leveler
- Rolling pin (optional)
- Clear plastic money box or tube
- Clean plastic wrap or food-safe sleeves
Ingredients:
- Flour (2 ½ cups)
- Sugar (1 ½ cups)
- Baking powder (2 tsp)
- Salt (½ tsp)
- Butter (1 cup, softened)
- Eggs (4 large)
- Milk (1 cup)
- Vanilla extract (2 tsp)
- Frosting of choice (buttercream or fondant)
Step-by-Step Guide to Making Money Cake
Step 1: Prepare the Money
Roll up the bills tightly and wrap them in clean plastic. You can also use food-safe sleeves made for money cake kits. Don’t tape the bills directly. It damages them. Use a ribbon or string if needed. Stack the rolled bills together and place them in the money box. Attach a pull tab ribbon to the first bill for easy access.
Step 2: Bake the Cake Layers
Preheat your oven to 350°F (175°C). Grease and flour your cake pans.
In a bowl, mix flour, baking powder, and salt. In another large bowl, beat butter and sugar until light and fluffy. Add eggs one at a time. Add vanilla. Slowly mix in the dry ingredients and milk, alternating each. Stir until smooth.
Pour the batter evenly into your pans. Bake for 25–30 minutes. Check with a toothpick. It should come out clean. Let the cakes cool completely before assembling.
Step 3: Cut a Hole for the Money Box
Take one cake layer and use a knife to cut a round hole in the center. This hole should fit the money box. Do not cut all the way through. Only cut deep enough to hide the box. The other cake layer should stay whole. This will be your top layer.
Step 4: Insert the Money Box
Place the bottom layer on a cake board or plate. Fit the money box into the hole. Make sure it’s centered. The pull ribbon should stick out slightly from the top. If needed, trim the cake slightly for a snug fit.
Step 5: Add the Top Layer
Place the second cake layer on top of the money box. Use frosting between layers to secure them. Make sure the ribbon stays in place. Smooth the sides with a spatula.
Step 6: Decorate the Cake
Frost the entire cake. You can use buttercream or fondant. Decorate with sprinkles, fruit, chocolate, or flowers. Add a topper or sign that says “Pull Me” above the ribbon.
Step 7: Store the Cake Safely
Refrigerate the cake if your ingredients require it. Keep it away from heat to protect the money. Let it come to room temperature before serving. Avoid pressing down on the top—this may push the money box.
Step 8: Serve and Enjoy
When it’s time to celebrate, invite the guest of honor to pull the ribbon. The money will come out like a banner. It’s a fun surprise that gets everyone excited. Then cut and serve the cake as usual.
Tips for Success
Use crisp bills for easier rolling and pulling.
Don’t overfill the money box or it may not slide out well.
Use kits sold online for easier assembly.
Practice once with paper strips if you’re doing it for the first time.
Choose a sturdy cake like vanilla, chocolate, or pound cake.
Money Cake Variations
Rainbow money cake: Color each cake layer differently.
Message cake: Use rolled messages instead of cash.
Mini money cupcakes: Insert tiny capsules into individual cupcakes.
Themed cakes: Customize for birthdays, weddings, or baby showers.
Where to Buy Money Cake Kits
You can find kits on websites like Amazon or baking specialty stores. These kits often include plastic boxes, ribbons, sleeves, and toppers.
Is It Safe to Put Money in Cake?
Yes—if done correctly. Make sure all bills are wrapped securely in food-safe materials. Keep everything clean. Do not allow the money to touch cake or frosting directly. Using pre-made kits adds extra protection and makes it easier.
Conclusion
Making a money cake is easier than you think. With simple tools and a bit of planning, you can surprise your loved ones with a sweet and thoughtful gift. The smile on their faces when they pull out the hidden cash is worth all the effort. Try it for your next party or celebration—it’s guaranteed to be unforgettable!
Related topics:


